

With Posters in PinToMind, you can create everything from event announcements and special offers to menus and birthday greetings – directly in PinToMind. Choose a template, add your content and create posters designed for digital signage.
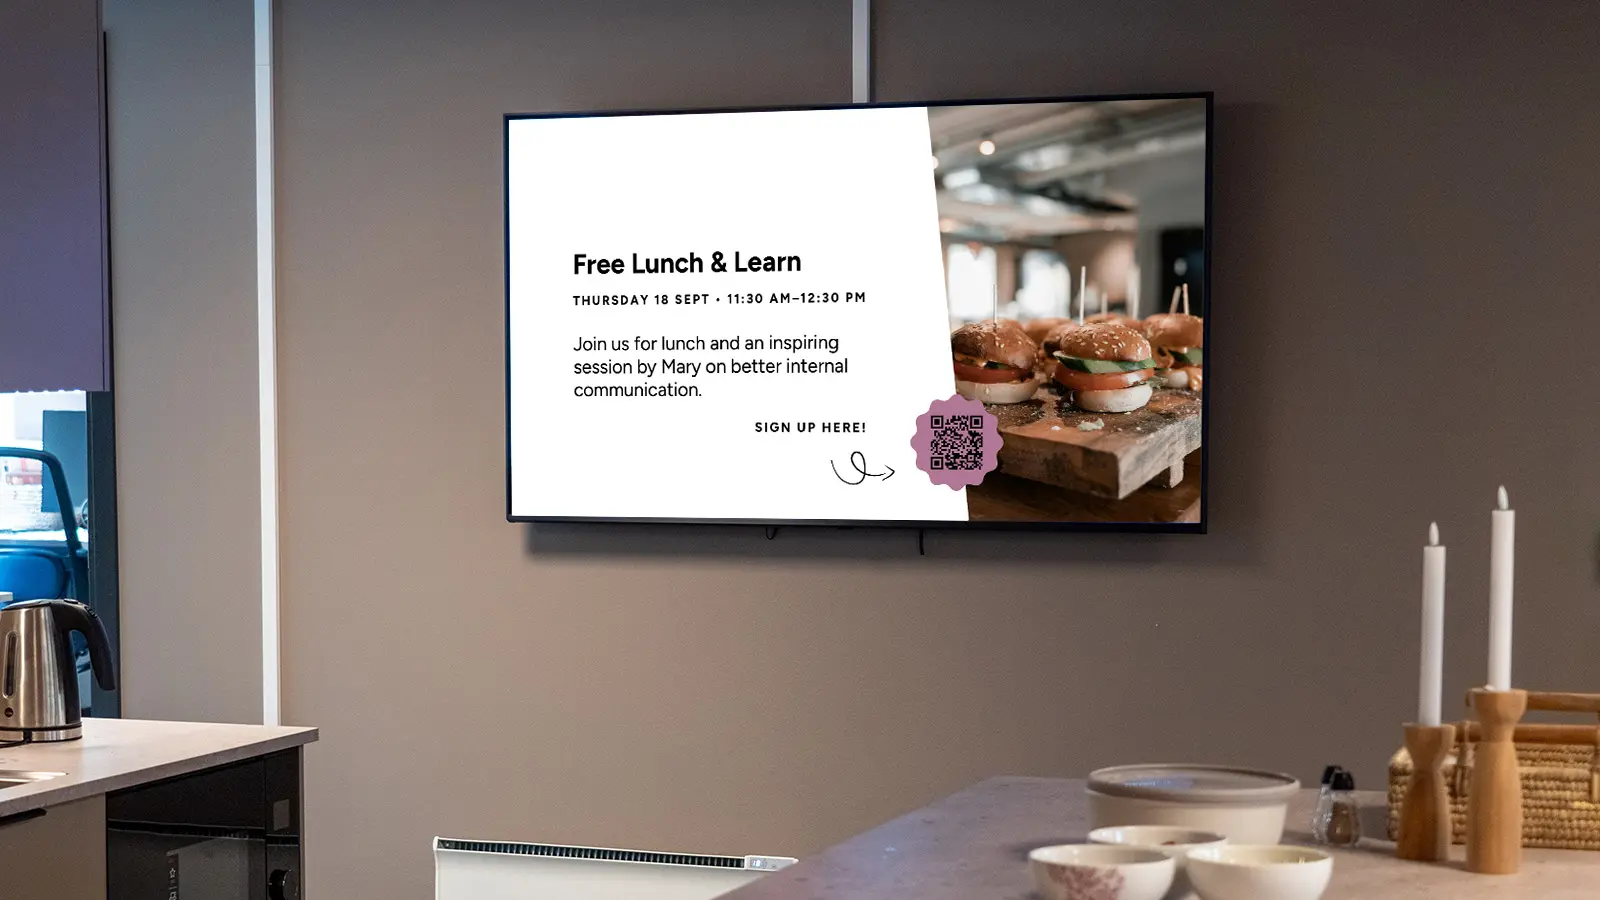
From idea to poster – all in one place
You don’t need to create your poster in Canva, PowerPoint or another program first, then upload it to PinToMind.
With PinToMind Posters, you can do it all directly in PinToMind. Choose from ready-made templates, add your text and images, and customise the content to suit your needs.
Watch this video for a quick introduction to Posters – all in under three minutes. Or keep reading below:
Designed for digital signage from the start
Posters created in other programs usually have a fixed format, which can make them less flexible when displayed on different screens.
With Posters in PinToMind, your content is designed for digital signage from the start – and automatically adapts to where it’s displayed.
There are three features in particular that make a difference:
1. One poster – three formats
Create one poster and automatically get three formats:
- 16:9 for landscape screens
- 9:16 for portrait screens
- 4:5 for PinToMind Go
This means your poster is automatically formatted for both landscape and portrait screens – as well as mobile. As you work, you can preview how your poster will look in each format.
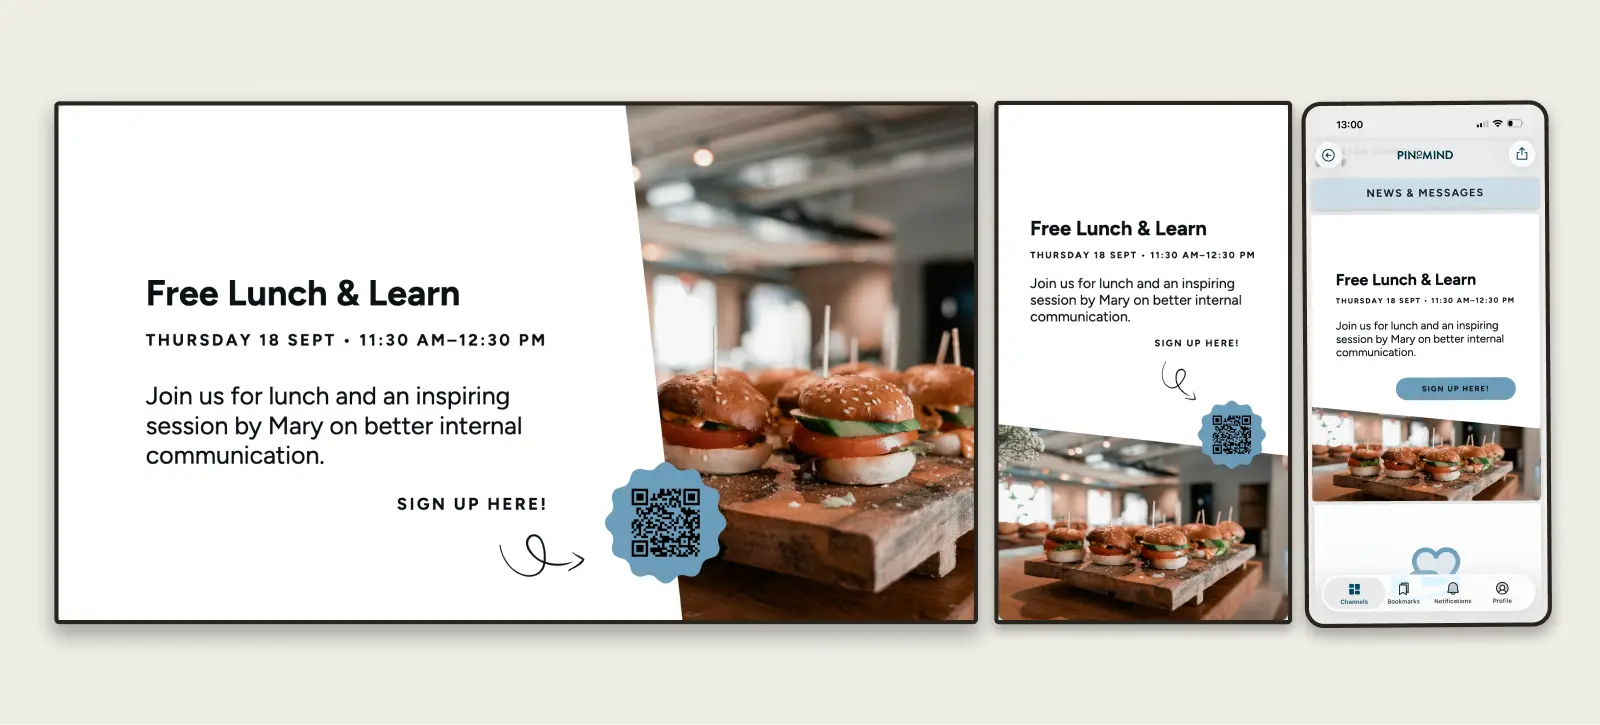
Posters are primarily designed for full-screen display, but can also be shown in an area of the screen. In that case, PinToMind automatically selects the one of the three formats that best fits the available space.
2. Colours can match the rest of your screen
When you select Follow theme in the editor, the poster automatically uses colours that match the rest of your screen (your theme) – an easy way to make it fit naturally with the rest of your content.
In the editor, the poster is shown in our default colours, while the preview shows how it will actually look on your screen.
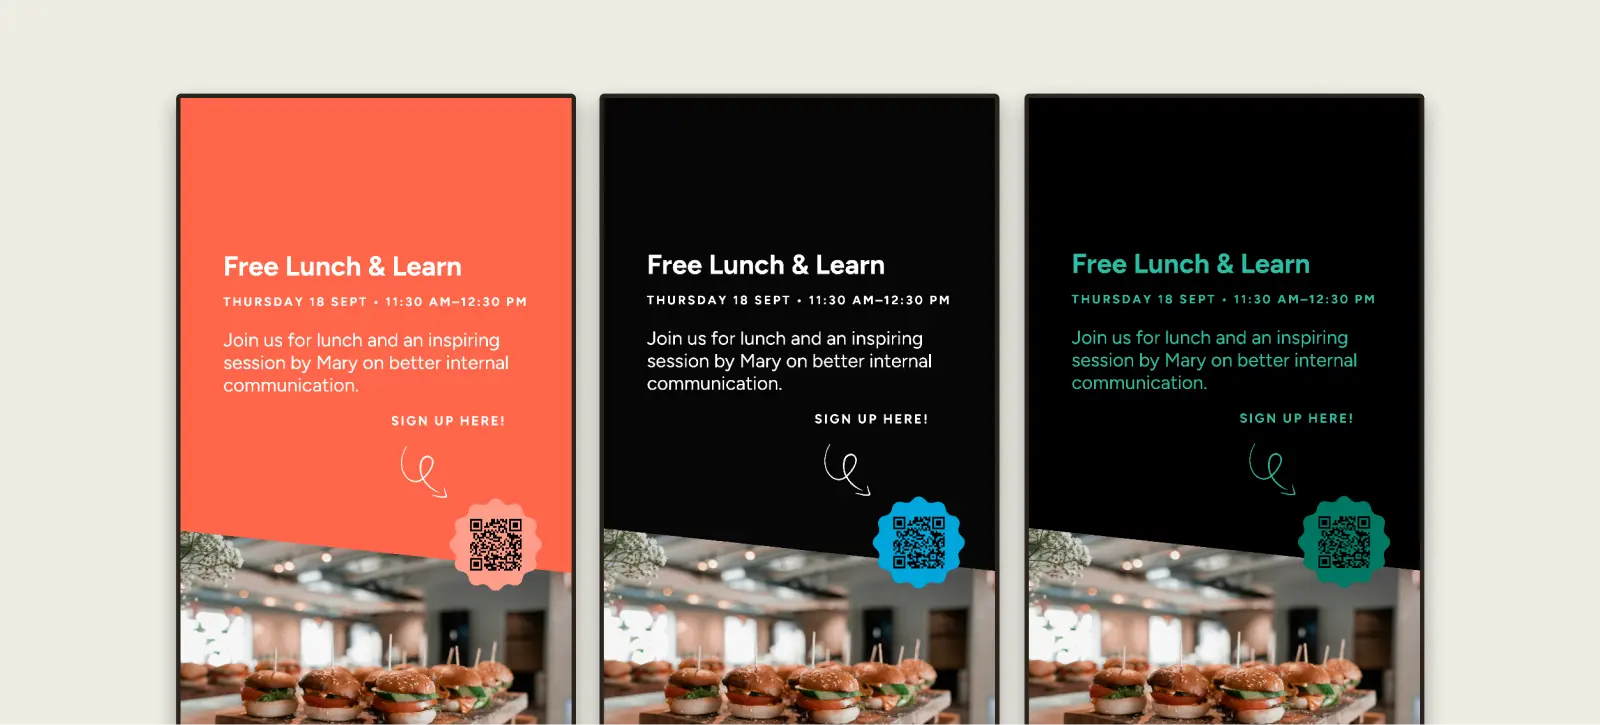
You can, of course, choose other colour palettes or individual colours instead. In that case, the editor shows exactly the colours you’ve selected.
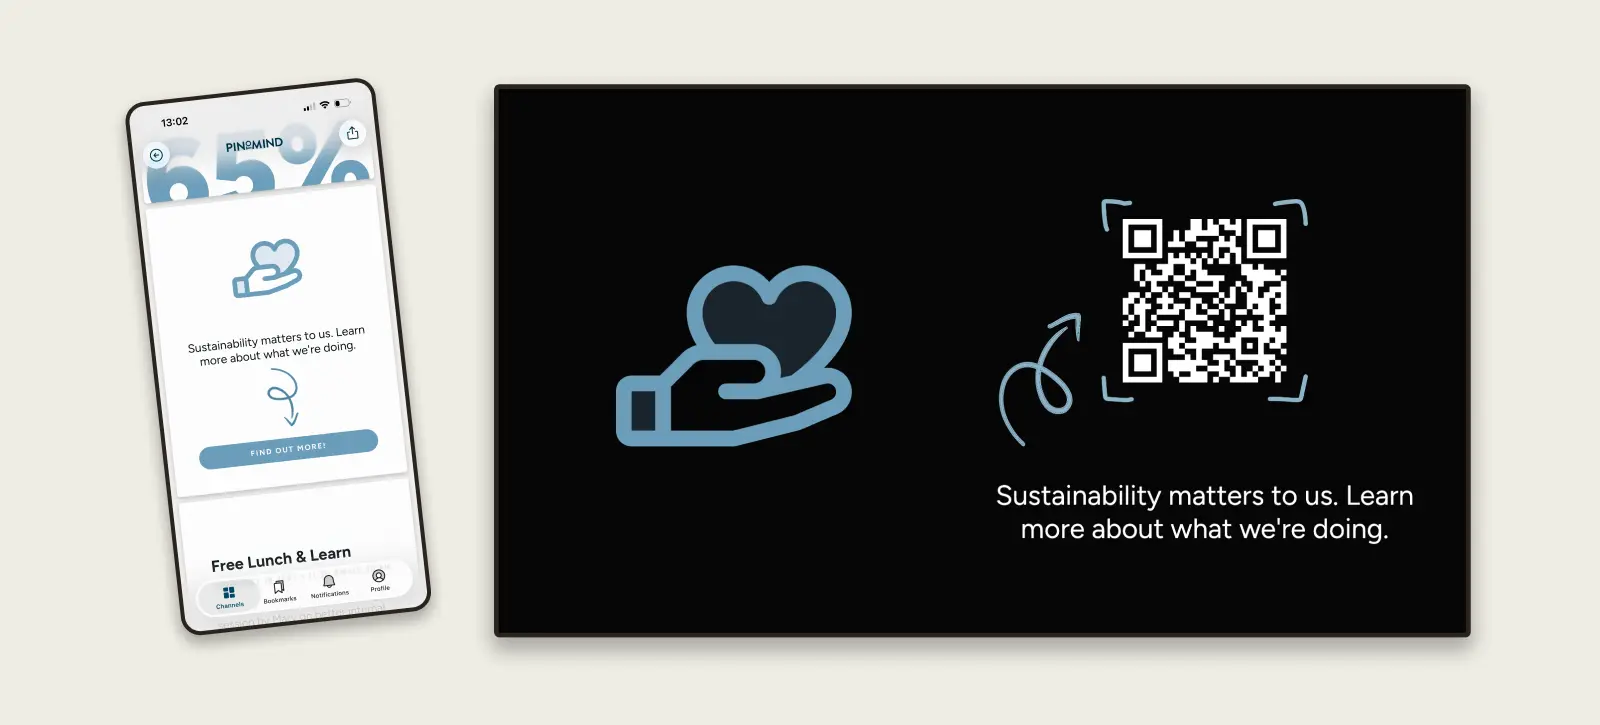
3. QR code on screen – clickable in Go
Add a link to a QR field in the template, and it automatically appears as a QR code when the poster is displayed on a screen.
In PinToMind Go, the same link is clickable – either as a button or by tapping the QR code directly, depending on the template.
This makes it easy for people to read more, sign up or explore additional content – whether they scan the QR code from the screen or tap the link in the poster in PinToMind Go.
Plenty of templates to get you started
There are already plenty of templates available, with more on the way. You can choose between two types:
Basic templates are neutral starting points that you can fill with your own content.
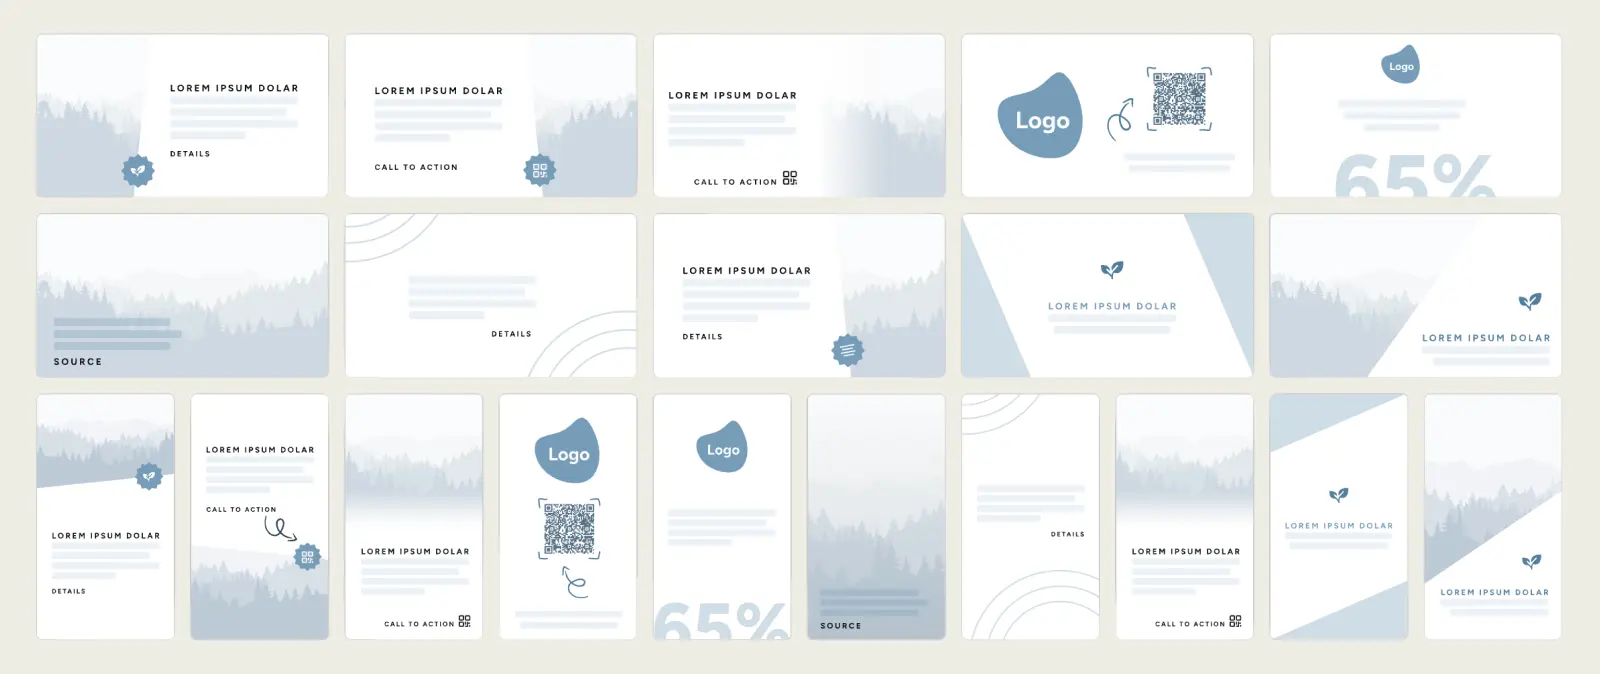
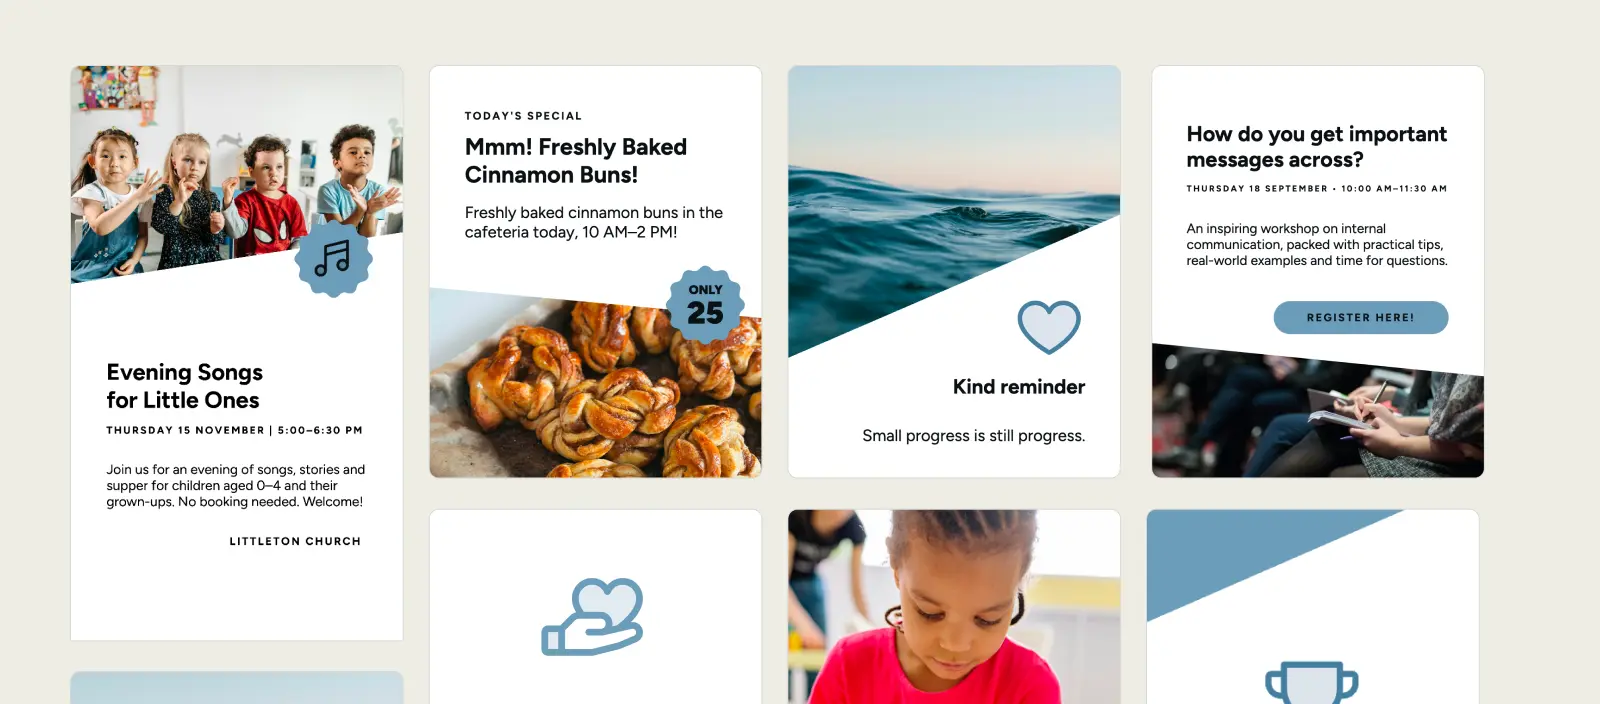
Inspiration templates give you ready-made examples for different purposes. Find an idea that suits your needs and make it your own.
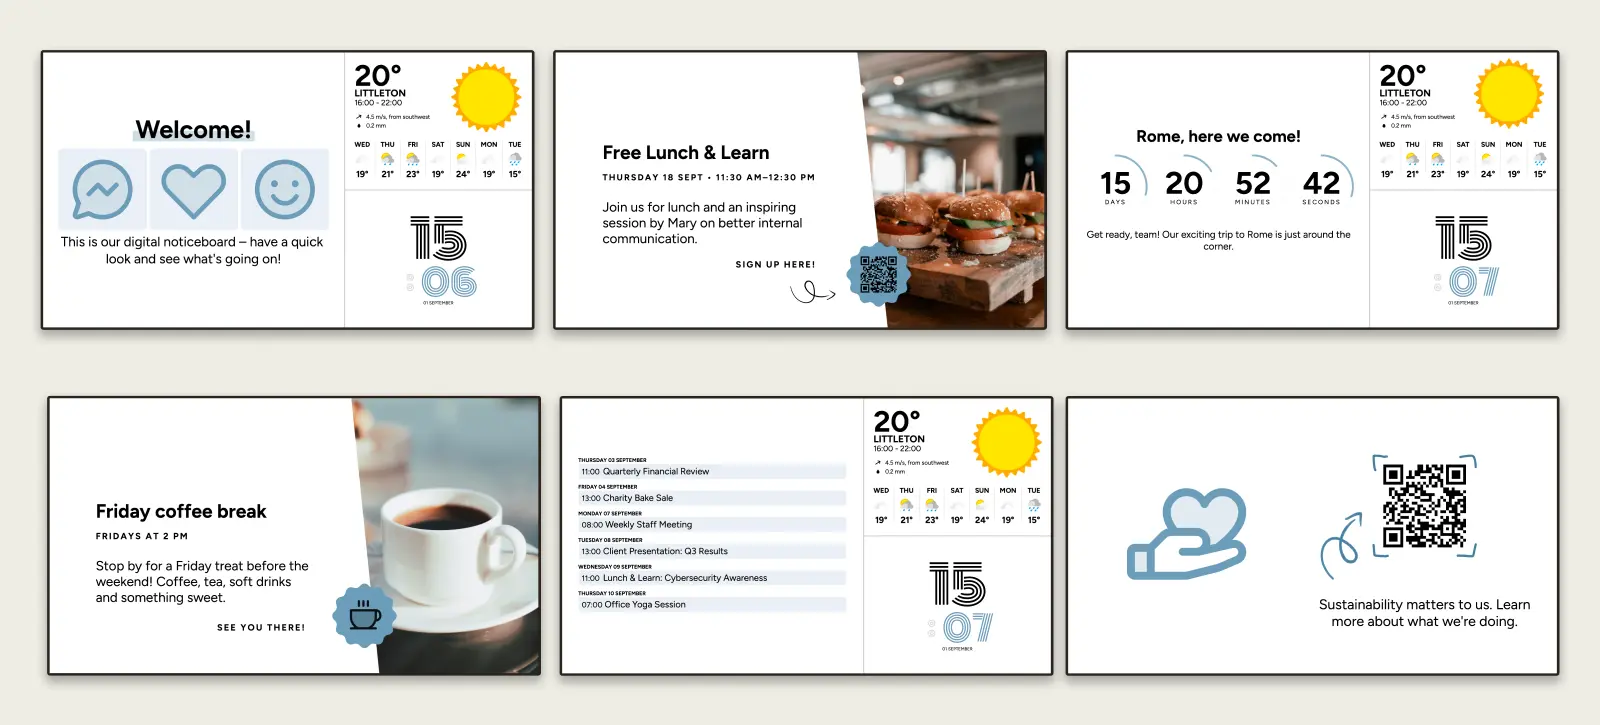
How I like to display Posters
I like to use a three-part layout for the channel, with posts like the weather, time and other useful information. Then, every now and then, I let posters take over the full screen.
This really makes the posters stand out, while keeping the everyday information on screen – all with the same colour scheme as the rest of the channel.
Want to give it a try?
Log in and find Posters in the post menu. Choose a template you like – and start creating!
Not using PinToMind yet? Start your free trial and try Posters, along with all the other features. No commitment required.
And if you have any questions, feel free to get in touch – we’re happy to help!







 Show details

 Back to top